このガイドでは、インストールから最初の記事の公開まで、EmDashサイトの作成手順を説明します。
前提条件
- Node.js v22.12.0以上(奇数バージョンはサポートされていません)
- npm、pnpm、または yarn
- コードエディタ(VS Code推奨)
新しいプロジェクトを作成
npm
npm create emdash@latestpnpm
pnpm create emdash@latestyarn
yarn create emdashプロンプトに従ってプロジェクト名を入力し、設定を行います。
開発サーバーの起動
-
プロジェクトディレクトリに移動します:
cd my-emdash-site -
依存関係をインストールします:
npm install -
開発サーバーを起動します:
npm run dev -
ブラウザで
http://localhost:4321を開きます
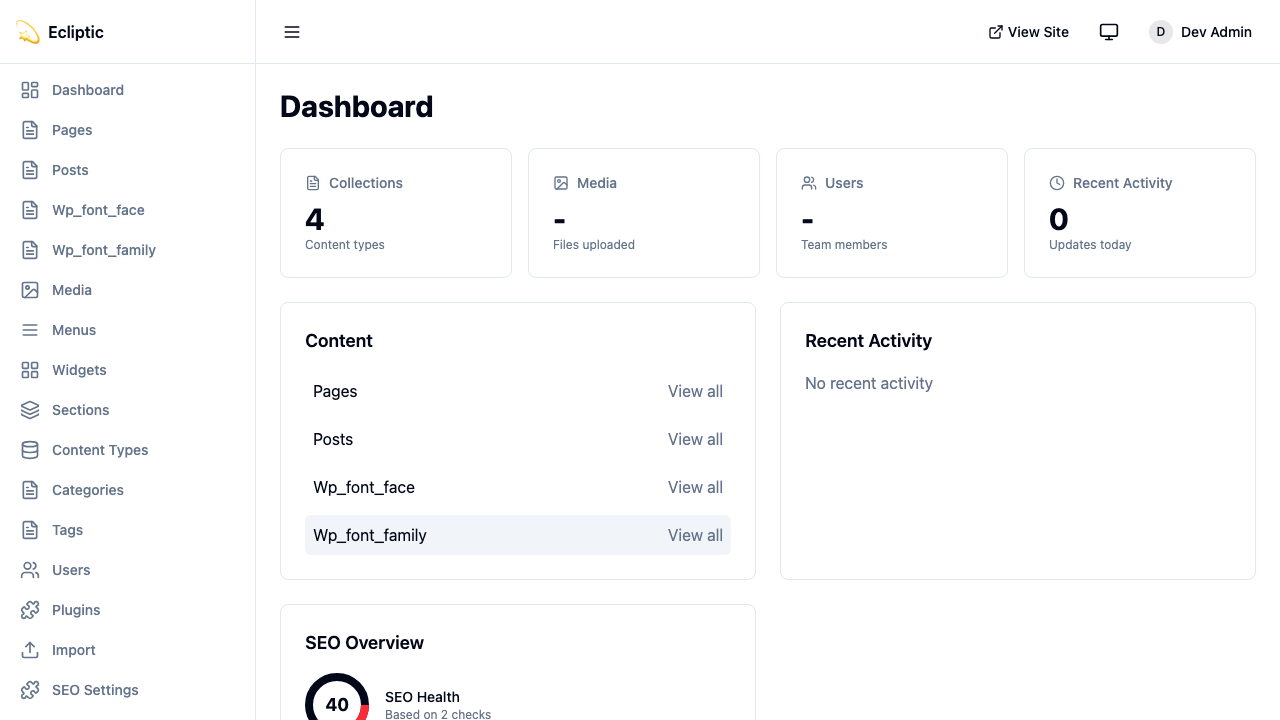
セットアップウィザードの完了
初めて管理パネルにアクセスすると、EmDashのセットアップウィザードが初期設定をガイドします:
-
http://localhost:4321/_emdash/adminに移動します -
セットアップウィザードにリダイレクトされます。以下を入力します:
- サイトタイトル — サイトの名前
- タグライン — 簡単な説明
- 管理者メール — メールアドレス
-
Create Site をクリックしてパスキーを登録します
-
ブラウザがTouch ID、Face ID、Windows Hello、またはセキュリティキーを使用してパスキーの作成を促します
パスキーが登録されると、ログインして管理ダッシュボードにリダイレクトされます。
最初の記事
-
管理サイドバーでコンテンツの下にある Posts をクリックします。
-
New Post をクリックします。
-
タイトルを入力し、リッチテキストエディタでコンテンツを書きます。
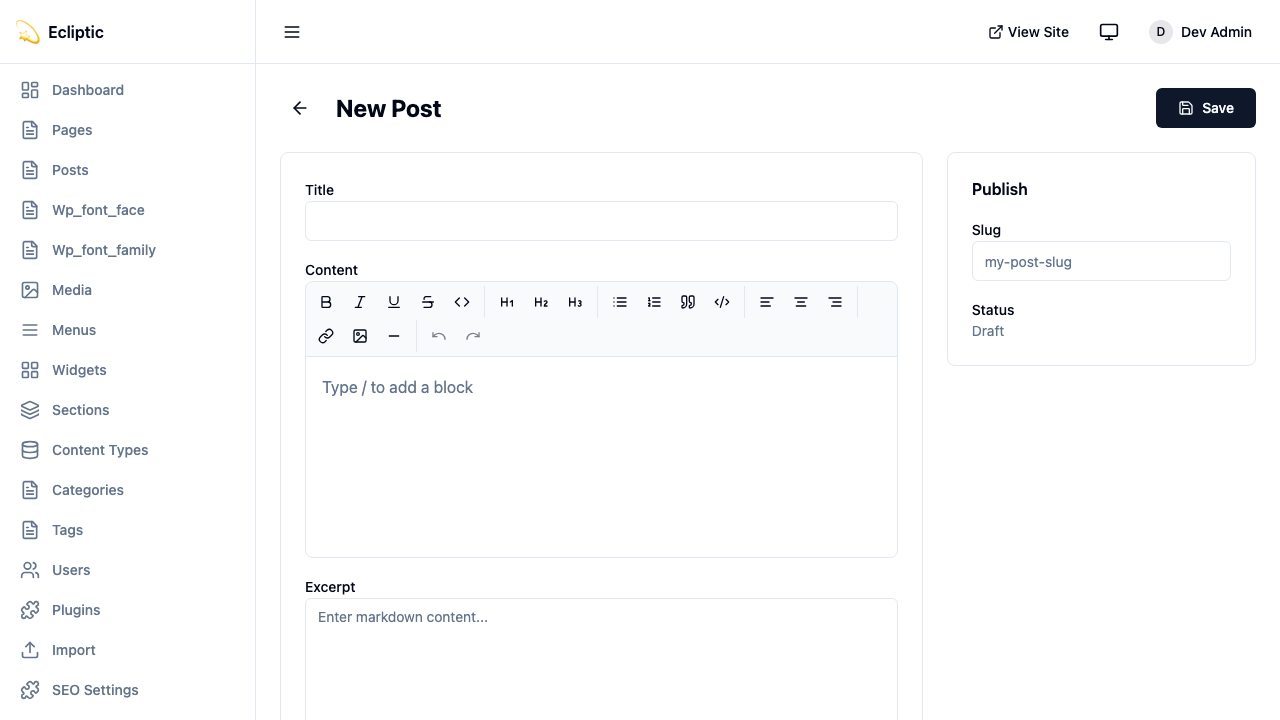
-
ステータスを Published に設定し、Save をクリックします。
-
サイトのホームページにアクセスします。記事がすぐに表示されます。
プロジェクト構造
EmDashプロジェクトは標準的なAstro構造にいくつかの追加があります:
my-emdash-site/
├── astro.config.mjs      # Astro + EmDash設定
├── src/
│   ├── live.config.ts    # Live Collections設定
│   ├── pages/
│   │   ├── index.astro   # ホームページ
│   │   └── posts/
│   │       └── [...slug].astro  # 動的記事ページ
│   ├── layouts/
│   │   └── Base.astro    # ベースレイアウト
│   └── components/       # Astroコンポーネント
├── .emdash/
│   ├── seed.json         # テンプレートシードファイル
│   └── types.ts          # 生成されたTypeScript型
└── package.json
設定ファイル
astro.config.mjs
以下の設定は、ローカルSQLiteデータベースとローカルファイルストレージでEmDashをAstroインテグレーションとして登録します:
import { defineConfig } from "astro/config";
import react from "@astrojs/react";
import emdash, { local } from "emdash/astro";
import { sqlite } from "emdash/db";

export default defineConfig({
	integrations: [
		react(), // 必須 — 管理UIはReactアプリ
		emdash({
			database: sqlite({ url: "file:./data.db" }),
			storage: local({
				directory: "./uploads",
				baseUrl: "/_emdash/api/media/file",
			}),
		}),
	],
});
src/live.config.ts
以下のファイルは、単一のライブコレクションを通じてEmDashをAstroのコンテンツシステムに接続します:
import { defineLiveCollection } from "astro:content";
import { emdashLoader } from "emdash/runtime";

export const collections = {
	_emdash: defineLiveCollection({ loader: emdashLoader() }),
};環境変数
本番環境用に、以下のコマンドでプラグインシークレットの暗号化キーを生成します:
npx emdash secrets generate生成された値を以下のように EMDASH_ENCRYPTION_KEY として環境に追加します。このキーはプラグインシークレットを保存時に暗号化します。プラグインシークレット暗号化が使用するときにデプロイメントが準備できるよう、今すぐ設定してください。
EMDASH_ENCRYPTION_KEY=emdash_enc_v1_...キーはデータベースに保存されることはありません — 暗号化された暗号文のみが保存されます。永続的な場所にバックアップしてください。キーを失うとそれで暗号化されたすべてのシークレットを失います。
プレビューHMACシークレットとコメンターIPハッシュソルトは初回使用時に生成されデータベースに保存されるため、設定する必要はありません。以下のように、別のプロセスがメインサイトと同じトークンを検証する必要がある場合にのみプレビューシークレットをオーバーライドしてください。
EMDASH_PREVIEW_SECRET=your-preview-secretページでコンテンツをクエリ
AstroページでEmDashのクエリ関数を使用します。これらはAstroのライブコレクションパターンに従い、コレクションには { entries, error }、単一エントリには { entry, error } を返します:
---
import { getEmDashCollection } from "emdash";
import Base from "../layouts/Base.astro";

const { entries: posts } = await getEmDashCollection("posts");
---

<Base title="ホーム">
  <h1>最新の記事</h1>
  <ul>
    {posts.map((post) => (
      <li>
        <a href={`/posts/${post.slug}`}>{post.data.title}</a>
      </li>
    ))}
  </ul>
</Base>
以下のページはスラッグで単一のエントリを取得します:
---
import { getEmDashEntry } from "emdash";

const { slug } = Astro.params;
const { entry: post } = await getEmDashEntry("posts", slug);

if (!post) {
  return Astro.redirect("/404");
}
---

<h1>{post.data.title}</h1>
TypeScript型の生成
完全な型安全性のために、データベーススキーマから型を生成します:
npx emdash typesこれにより、すべてのコレクションのインターフェースを含む .emdash/types.ts が作成されます。エディタがフィールド名を自動補完し、型エラーを検出するようになります。
次のステップ
サイトが動作している状態で、以下のページで次に何をすべきかを説明しています:
- コアコンセプト — EmDashの内部動作を理解する
- コンテンツの操作 — コンテンツのクエリとレンダリングを学ぶ
- メディアライブラリ — 画像やファイルをアップロードして管理する
- ブログの作成 — カテゴリーとタグ付きの完全なブログを構築する
- Cloudflareにデプロイ — サイトを本番環境にデプロイする