本指南將引導你建立第一個 EmDash 網站,從安裝到發佈你的第一篇文章。
前置需求
- Node.js v22.12.0 或更高版本(不支援奇數版本號)
- npm、pnpm 或 yarn
- 程式碼編輯器(推薦 VS Code)
建立新專案
npm
npm create emdash@latestpnpm
pnpm create emdash@latestyarn
yarn create emdash依照提示為專案命名並設定你的偏好選項。
啟動開發伺服器
-
進入專案目錄:
cd my-emdash-site -
安裝相依套件:
npm install -
啟動開發伺服器:
npm run dev -
在瀏覽器中開啟
http://localhost:4321
完成設定精靈
首次造訪管理面板時,EmDash 的設定精靈會引導你完成初始設定:
-
開啟
http://localhost:4321/_emdash/admin -
你將被導向設定精靈。輸入以下資訊:
- 網站標題 — 你的網站名稱
- 標語 — 簡短的網站描述
- 管理員信箱 — 你的電子郵件地址
-
點選 Create Site 註冊你的通行金鑰
-
瀏覽器將提示你使用 Touch ID、Face ID、Windows Hello 或安全金鑰建立通行金鑰
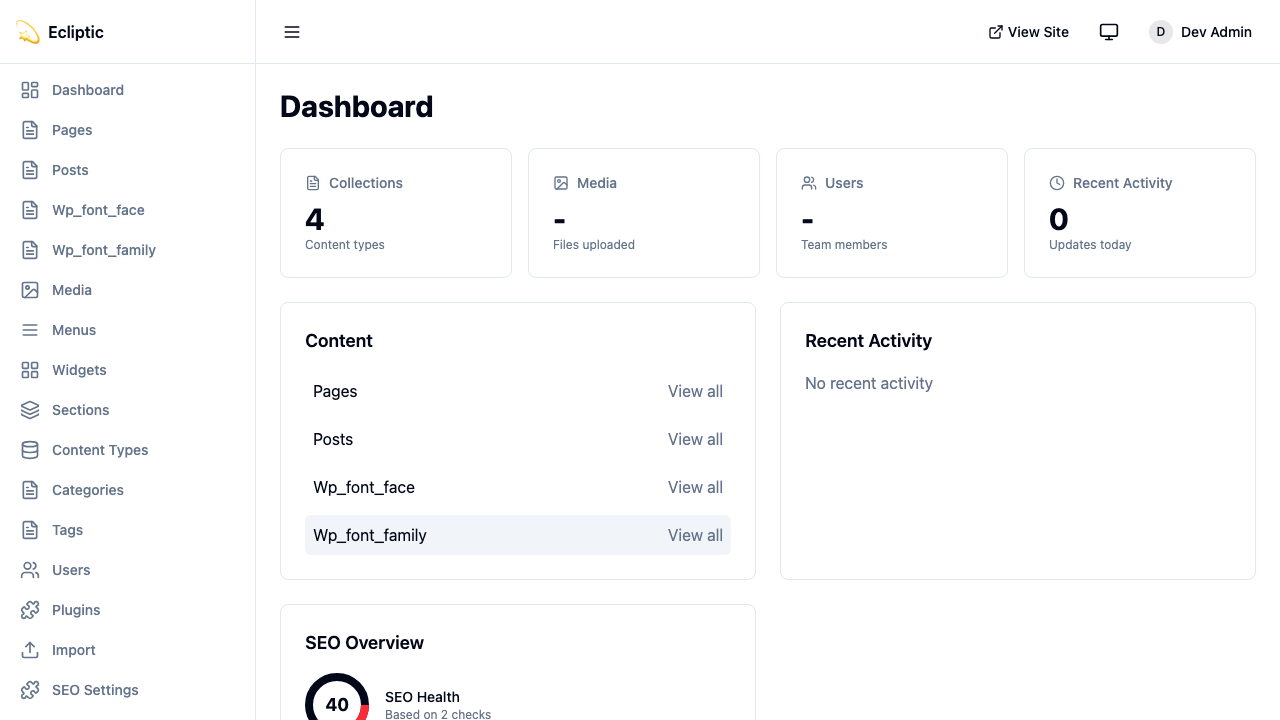
通行金鑰註冊完成後,你將登入並被導向管理儀表板。
你的第一篇文章
-
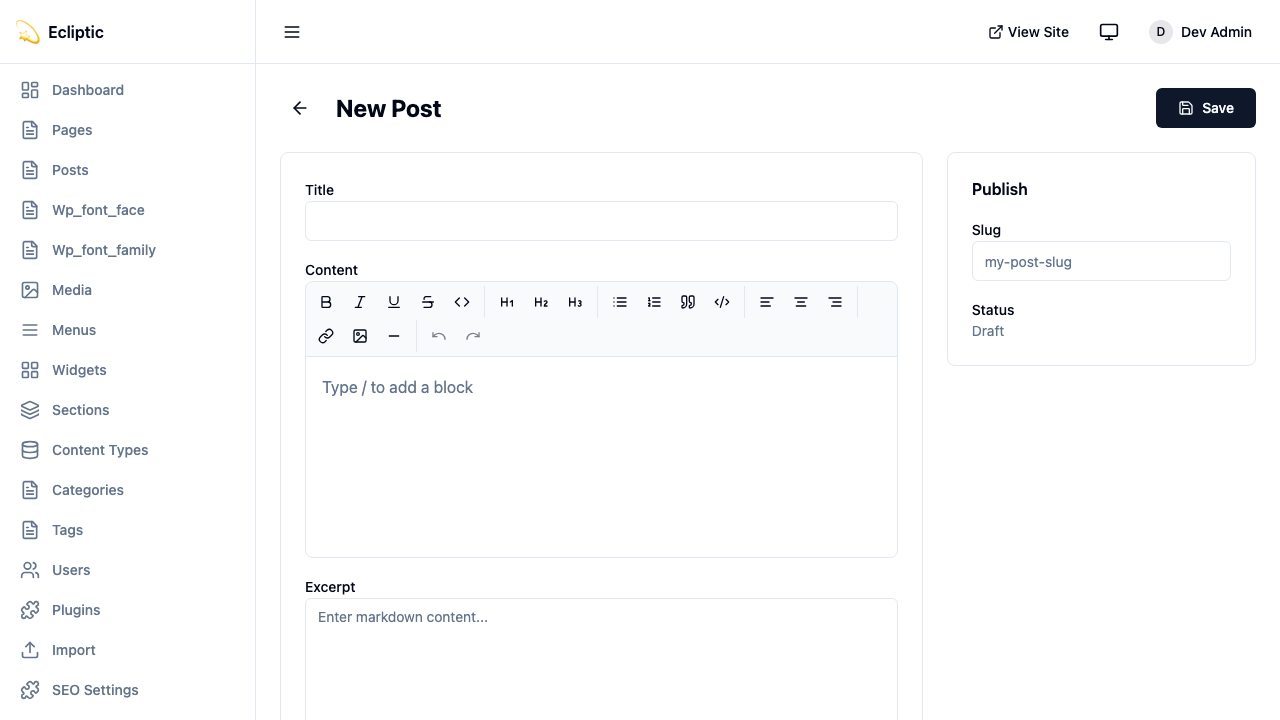
在管理側邊欄中,點選「內容」下方的 Posts。
-
點選 New Post。
-
輸入標題,並使用富文字編輯器撰寫內容。
-
將狀態設定為 Published 並點選 Save。
-
造訪你的網站首頁,文章會立即顯示。
專案結構
你的 EmDash 專案遵循標準的 Astro 結構,並增加了一些額外內容:
my-emdash-site/
├── astro.config.mjs      # Astro + EmDash 設定
├── src/
│   ├── live.config.ts    # 即時集合設定
│   ├── pages/
│   │   ├── index.astro   # 首頁
│   │   └── posts/
│   │       └── [...slug].astro  # 動態文章頁面
│   ├── layouts/
│   │   └── Base.astro    # 基礎佈局
│   └── components/       # 你的 Astro 元件
├── .emdash/
│   ├── seed.json         # 範本種子檔案
│   └── types.ts          # 產生的 TypeScript 型別
└── package.json
設定檔案
astro.config.mjs
以下設定將 EmDash 註冊為 Astro 整合,使用本地 SQLite 資料庫和本地檔案儲存:
import { defineConfig } from "astro/config";
import react from "@astrojs/react";
import emdash, { local } from "emdash/astro";
import { sqlite } from "emdash/db";

export default defineConfig({
	integrations: [
		react(), // 必要 — 管理介面是一個 React 應用程式
		emdash({
			database: sqlite({ url: "file:./data.db" }),
			storage: local({
				directory: "./uploads",
				baseUrl: "/_emdash/api/media/file",
			}),
		}),
	],
});
src/live.config.ts
以下檔案透過單一即時集合將 EmDash 連接到 Astro 的內容系統:
import { defineLiveCollection } from "astro:content";
import { emdashLoader } from "emdash/runtime";

export const collections = {
	_emdash: defineLiveCollection({ loader: emdashLoader() }),
};環境變數
在正式環境中,使用以下指令產生用於外掛程式金鑰加密的密鑰:
npx emdash secrets generate將產生的值作為 EMDASH_ENCRYPTION_KEY 加入你的環境變數中,如下所示。此密鑰用於加密儲存外掛程式金鑰。現在就設定好,這樣當外掛程式金鑰加密功能啟用時,你的部署就已準備就緒。
EMDASH_ENCRYPTION_KEY=emdash_enc_v1_...密鑰不會儲存在資料庫中——資料庫中只儲存加密後的密文。請將密鑰備份到可靠的地方,因為遺失密鑰意味著遺失所有用它加密的金鑰資料。
預覽 HMAC 密鑰和留言者 IP 雜湊鹽會在首次使用時自動產生並儲存在資料庫中,因此你無需手動設定。只有在其他程序需要驗證與你主站相同的權杖時,才需要覆寫預覽密鑰,如下所示。
EMDASH_PREVIEW_SECRET=your-preview-secret在頁面中查詢內容
在 Astro 頁面中使用 EmDash 的查詢函式。這些函式遵循 Astro 的即時集合模式,集合查詢回傳 { entries, error },單一項目查詢回傳 { entry, error }:
---
import { getEmDashCollection } from "emdash";
import Base from "../layouts/Base.astro";

const { entries: posts } = await getEmDashCollection("posts");
---

<Base title="Home">
  <h1>Latest Posts</h1>
  <ul>
    {posts.map((post) => (
      <li>
        <a href={`/posts/${post.slug}`}>{post.data.title}</a>
      </li>
    ))}
  </ul>
</Base>
以下頁面透過 slug 取得單一項目:
---
import { getEmDashEntry } from "emdash";

const { slug } = Astro.params;
const { entry: post } = await getEmDashEntry("posts", slug);

if (!post) {
  return Astro.redirect("/404");
}
---

<h1>{post.data.title}</h1>
產生 TypeScript 型別
為獲得完整的型別安全,從資料庫綱要產生型別:
npx emdash types這會在 .emdash/types.ts 中建立所有集合的介面。你的編輯器將能夠自動補全欄位名稱並捕捉型別錯誤。
下一步
網站運作起來後,以下頁面涵蓋了接下來可以做的事情:
- 核心概念 — 瞭解 EmDash 的底層運作原理
- 內容管理 — 學習查詢和呈現內容
- 媒體庫 — 上傳和管理圖片及檔案
- 建立部落格 — 建構帶分類和標籤的完整部落格
- 部署到 Cloudflare — 將你的網站部署到正式環境